If you’ve been wondering how to sync a Genie garage door opener, you’re in the right place! Many homeowners find themselves frustrated when their remote doesn’t respond, leaving them searching for a solution. Syncing your Genie opener is essential for smooth, consistent operation, and this process can be done without any special technical skills. Whether you’ve recently installed a new Genie opener or simply want to pair an additional remote, following the correct steps will ensure that everything works seamlessly.
Having a properly synced Genie garage door opener means more than just convenience. Imagine pulling up to your garage after a long day and pressing the button on your remote, only to find that it doesn’t work. Knowing how to sync your opener can save you from the hassle of manually opening the door and ensure that your garage access is secure and reliable. Many homeowners experience initial hiccups with syncing, especially if they’re new to Genie openers, but with a few straightforward steps, you’ll have it operating smoothly in no time.
In this guide, we’ll walk you through each step to help you sync your Genie garage door opener efficiently. From gathering the necessary tools to troubleshooting common issues, this comprehensive guide is here to make the process as hassle-free as possible. Read on to make sure your opener is properly synced and ready for easy, consistent use every time you need it!
Why Syncing Your Genie Garage Door Opener Is Important
Syncing your Genie garage door opener isn’t just about convenience; it’s essential for reliable, consistent performance. Here’s why it matters:
- Smooth Operation: A properly synced opener responds promptly to your remote, eliminating delays or failures.
- Avoids Signal Interference: Syncing minimizes potential issues from other wireless devices, keeping your opener’s signal clear.
- Multiple Remotes: If you have more than one remote or keypad, syncing ensures that each operates correctly without overlap or miscommunication.
By understanding the importance of syncing, you’re setting up your Genie opener for a smooth, hassle-free experience.
Step 1: Gather Necessary Tools and Information
Before you begin, make sure you have everything you’ll need:
- Genie Remote Control: Confirm it’s compatible with your specific model.
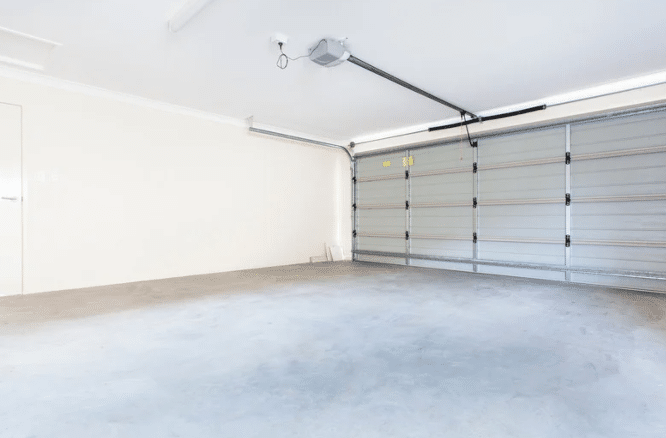
- Access to the Garage Door Motor Unit: Be ready to locate the program or “Learn” button on the motor unit.
- Power Supply: Ensure that your garage door opener is plugged in and functional.
Having these items on hand will help you avoid unnecessary delays and ensure the syncing process goes smoothly.
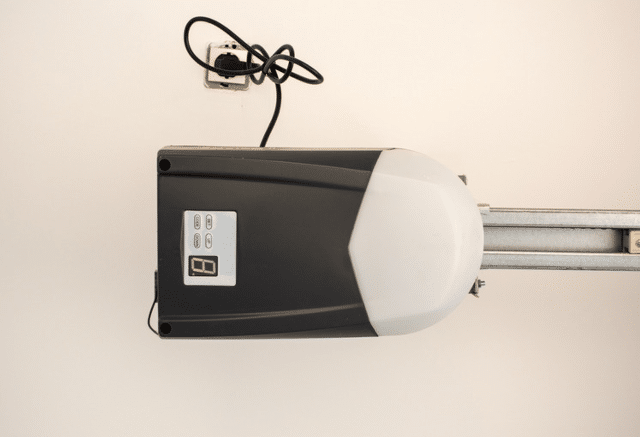
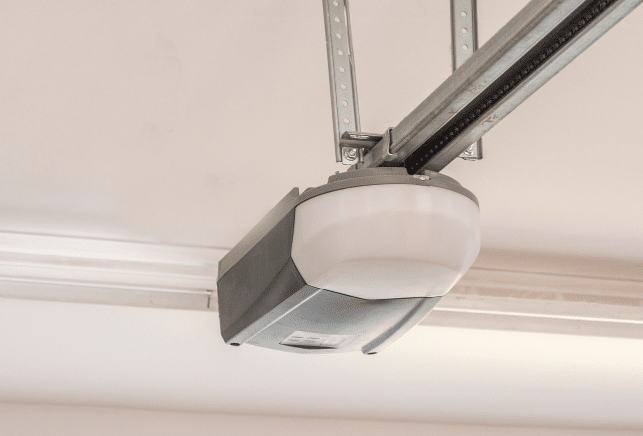
Step 2: Locate the Programming Button on the Genie Opener
The program or “Learn” button is key to syncing your Genie remote with the opener:
- Common Locations: On most Genie models, the programming button is located on the motor unit, either on the back or side panel.
- Identifying the Button: Look for a small button labeled “Learn,” “Program,” or a similar term, often near a light or LED indicator.
Once you’ve located this button, you’re ready to start the syncing process.
Step 3: Activate the Sync Mode
Now, it’s time to activate sync mode. This step allows your Genie opener to recognize the remote.
- Press and Hold: Press and hold the programming button until the LED light begins to flash.
- Light Indicators: Watch for the light to blink, signaling that the opener is ready to pair with your remote.
This light pattern confirms that your opener is now in sync mode, waiting for the remote to complete the process.
Step 4: Syncing the Remote or Keypad
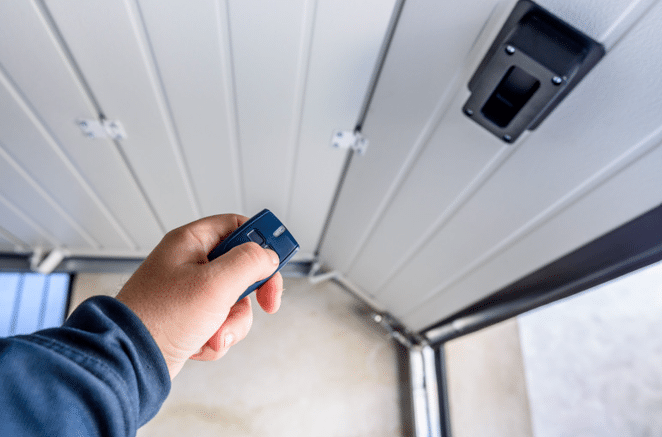
With sync mode activated, it’s time to pair your remote:
- Press the Remote Button: Within a few seconds of activating sync mode, press the button on your remote that you want to sync.
- Additional Remotes: If you have multiple remotes, repeat this step for each remote to ensure all are synced.
- Troubleshoot Non-Responsive Remotes: If a remote doesn’t respond, check the batteries and ensure you’re pressing the correct button.
Following these steps should link your remote with the opener effectively.
Step 5: Testing the Synced Garage Door Opener
Once synced, it’s essential to test your Genie garage door opener to ensure it works reliably:
- Distance Test: Test the remote from both near and far distances to confirm it operates consistently.
- Smooth Operation Check: Open and close the new garage door multiple times to ensure the opener responds smoothly and accurately.
Testing after syncing guarantees you’ll have a fully functioning, reliable garage door opener.
Troubleshooting Common Issues
Even after syncing, some common issues may arise. Here are tips to troubleshoot:
- Remote Not Working: Ensure batteries are fresh and check for any signal obstructions.
- Interference Issues: Other wireless devices can sometimes interfere; try resyncing if you experience random interruptions.
- Re-syncing: If the opener fails to respond, reset and repeat the sync process from Step 2.
Addressing these issues promptly ensures your garage door opener remains dependable.
Maintenance Tips for Long-Term Reliability
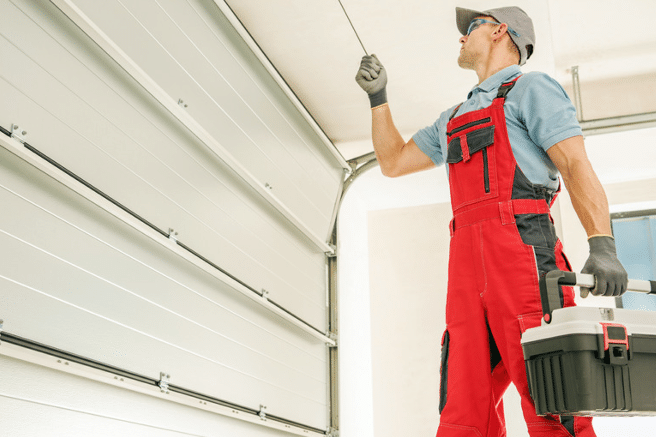
To keep your Genie garage door opener in top shape, follow these maintenance tips:
- Regular Battery Checks: Replace remote batteries at least once a year to maintain strong signal strength.
- Clean the Motor Unit: Dust and debris can impact performance; keep the motor unit and sensors clean.
- Alignment Checks: Ensure sensors are properly aligned to prevent operation issues.
Regular maintenance will extend the life of your opener and prevent unexpected breakdowns.
FAQs
How do I sync my garage door opener?
To sync your garage door opener, locate the “Learn” or “Program” button on the motor unit of the opener. After pressing and holding this button, you’ll need to quickly press the button on your remote, and your opener should recognize and sync with it for reliable operation.
Where is the learn button on Genie garage door opener?
On Genie garage door openers, the “Learn” button is typically found on the back or side of the motor unit, often near an LED light or under a small panel. This button is essential for syncing and programming, so be sure to consult your model’s manual if it’s difficult to find.
How do I sync my garage door key?
To sync your garage door key or keypad with the opener, first press the “Program” or “Learn” button on the motor unit. Then, enter your preferred code on the keypad within a short timeframe, ensuring it syncs with the garage door opener for secure access.
How do I program my Genie garage door code?
Programming your Genie garage door code involves pressing the “Learn” button on the motor unit, followed by entering a unique code on your keypad. Once the code is entered and saved, test it by using it to open and close the garage door to confirm successful programming.
How to reprogram garage door opener Genie?
To reprogram a Genie garage door opener, press and hold the “Learn” button until the light begins flashing, signaling readiness to reprogram. Then, press the desired button on your remote or keypad to re-establish the connection and finalize the programming.
How do you pair a door opener?
Pairing a door opener with your Genie remote or keypad starts by pressing the “Learn” button on the motor unit, entering pairing mode. Next, press the button on your remote or input the code on your keypad, ensuring that it pairs successfully for convenient access.
Conclusion
Maintaining a strong, secure bottom seal on your garage door is essential to keeping your garage comfortable, energy-efficient, and free from unwanted elements. At Hi-Country Dock & Door, we understand the importance of a well-sealed garage and how it contributes to a cleaner, more efficient space. Replacing your garage door bottom seal is a simple DIY fix that can save you from future headaches and costly garage door repairs. This guide empowers you with everything you need to take control of this straightforward maintenance task, helping you protect your belongings and reduce energy costs.
A worn-out seal can create bigger problems than you might realize, from drafts and dust to higher energy bills and damage to stored items. By following our guide and making this small but impactful change, you’ll restore a tight barrier against the elements, keeping out moisture, dirt, and even pests. This small investment in a quality seal replacement will add years to your garage door’s life and help you maintain a more comfortable, usable space all year round.
If you’re looking for expert guidance or prefer a professional touch, Hi-Country Dock & Door is here to help. Our team of professionals can handle the job quickly and efficiently, giving you peace of mind that it’s done right. Whether you’re taking on this task yourself or want an expert’s hand, we’re dedicated to helping you keep your garage in top shape. Reach out today to learn more about our services or schedule an appointment—your garage deserves the best care, and we’re here to deliver!
End Note
If you’re ready to take your garage door’s functionality to the next level, Hi-Country Dock & Door is here to help. We’re proud to offer a range of professional services, from garage door installations to reliable repairs, tailored to meet your needs. Visit our website to explore all that we can do for you.
Want to know more about our story and commitment to quality? Get the details on who we are and what drives us on our About Us page. Our team brings years of expertise and dedication to every job, whether you’re in Roundup, MT or Billings, MT, ensuring your garage doors operate smoothly and efficiently year-round.
We also offer an impressive selection of Amarr Garage Doors for those looking to upgrade their door’s style and durability. And if you’re in need of dock repair, our team in Roundup, MT is ready to assist, bringing precision and care to every project.
For questions, quotes, or to schedule a service, don’t hesitate to contact us. Our friendly and knowledgeable team is just a click away, ready to provide the support you need to keep your garage or dock in top shape. Let Hi-Country Dock & Door be your go-to partner for all things garage and dock-related!