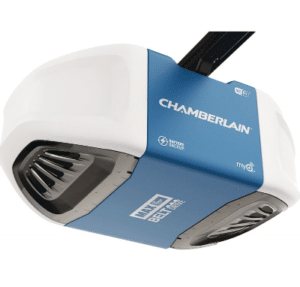
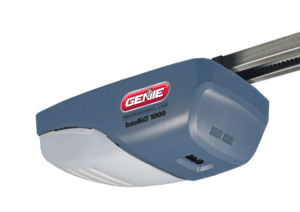
Our quick and easy guide to garage door opener installation in Roundup, MT, covers everything you need for a fast setup.
Installing a garage door opener doesn’t have to be intimidating—if you’re prepared, it can be a rewarding DIY project that adds convenience to your home. This guide covers each step of garage door opener installation in detail from choosing the best type for your needs to gathering essential tools and following safety protocols. Whether replacing an old unit or setting up a new one, these clear instructions will help you achieve a secure and professional-quality installation.
With the right opener and this step-by-step guidance, you can confidently tackle the setup. From aligning the rail and securing brackets to wiring the control panel and testing the safety sensors, every step is covered to ensure your installation is safe, efficient, and ready to provide reliable service for years to come. Dive in and discover how to transform your garage experience today!
Tools and Materials You’ll Need
Before you begin, gather all the necessary tools and materials to make the installation smoother. Here’s a list of items commonly needed for garage door opener installation:
- Garage Door Opener Kit – Includes the opener unit, rail assembly, trolley, and necessary bolts.
- Power Drill – For drilling holes and securing mounting brackets.
- Screwdrivers – Both flathead and Phillips.
- Wrenches and Socket Set – For tightening nuts and bolts.
- Measuring Tape – To ensure accurate placement.
- Ladder – For reaching high areas safely.
- Stud Finder – Helps locate studs for secure mounting.
- Level – Ensures that the rail and motor are properly aligned.
- Pliers – Useful for wiring tasks.
- Safety Goggles and Gloves – For protection.
All these tools will make the installation process more efficient and help prevent interruptions.
Choosing the Right Garage Door Opener
Selecting the best garage door opener for your setup is a crucial step. Garage door openers come in several types, each with its advantages:
- Chain Drive: Known for durability and strength, chain drives are ideal for heavier doors. They are noisier, which might not be suitable if your garage is close to living spaces.
- Belt Drive: A belt drive is an excellent choice if quiet operation is a priority. Belt drives are often used for garages connected to or close to the main house, as they make less noise during operation.
- Screw Drive: These openers require less maintenance than chain or belt drives and are great for moderate climates. However, they can be noisy in colder temperatures due to contraction.
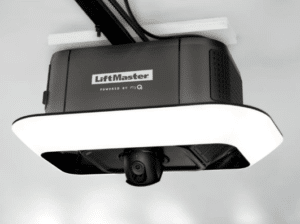
- Direct Drive: Direct drives are quiet and reliable, with minimal moving parts. They cost more but are known for their longevity and low maintenance needs.
Before purchasing, consider the weight of your garage door, the noise tolerance, and your budget. Once you have the right opener, you’re ready to start the installation.
Installing Your Automatic Garage Door Opener
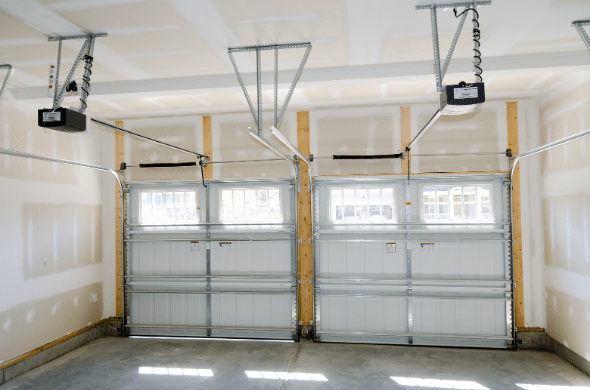
Once you’ve selected your opener and gathered your tools, it’s time to begin the installation. Follow each step carefully to ensure a safe and effective installation.
Step 1: Reading the Manual and Prep Work
Your garage door opener’s instruction manual will be specific to your purchased model. Take the time to read through it thoroughly. Each model may have unique instructions, so it’s important to understand the steps before you start.
- Ensure Power Access: Make sure there is a power outlet near the motor mounting area. If not, you may need an extension cord or consider hiring an electrician to install an outlet.
- Assemble the Opener: Open the box and lay out all parts to ensure everything is included. Begin assembling the rail and other parts according to the manual.
- Disconnect the Door: If an old opener or mechanism is attached, disconnect it first. Also, disengage any existing locking mechanisms on the door to prevent interference with the new opener.
Step 2: Mounting the Opener
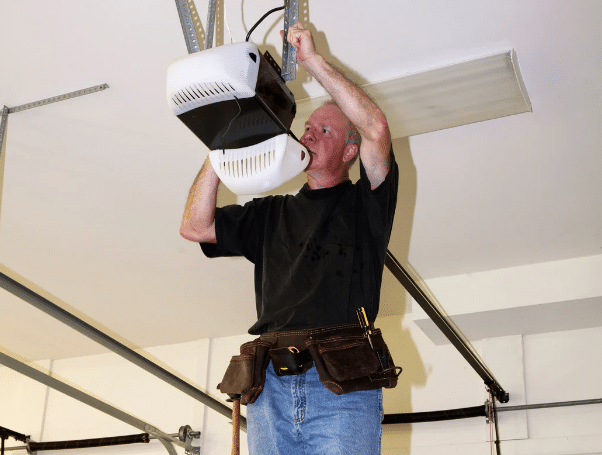
Correctly mounting the motor unit is essential for smooth operation. Most garage door openers are mounted on the ceiling near the center of the door.
- Find the Center Point: Measure the width of your garage door to locate its center point. This is where the motor should align.
- Secure the Bracket: Attach the mounting bracket to the ceiling, ensuring it’s securely fastened to a joist or structural support. If needed, use a stud finder to locate a solid anchor point.
- Hang the Motor Unit: Use the provided bolts to attach the motor unit to the bracket. Ensure the unit is level to avoid placing unnecessary strain on the opener.
Step 3: Secure the Mounting Bracket
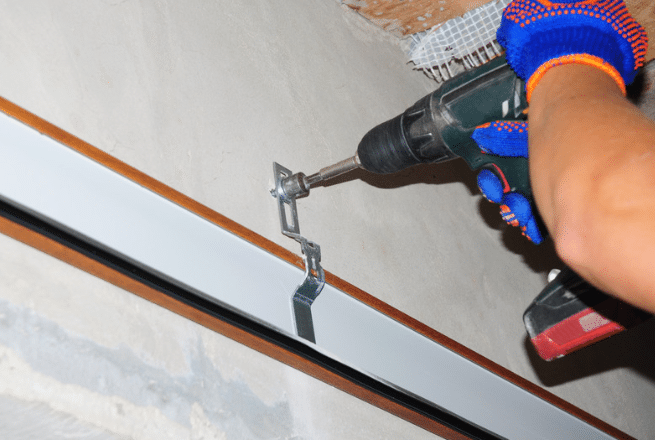
The mounting bracket secures the opener’s rail to the wall above the door, creating a stable foundation for the opener’s movement.
- Attach the Bracket Above the Door: Use a ladder to position the bracket above the garage door. Make sure it’s level and centered.
- Secure with Screws: Drill holes and attach the bracket with screws provided in your kit. Use wall anchors if the bracket isn’t on a stud to ensure it’s firmly attached.
- Connect the Rail to the Bracket: Once the bracket is secure, connect the rail assembly to it, following the manufacturer’s instructions. Ensure everything is tightly secured before moving on.
Step 4: Install the Trolley and Rail Assembly
The trolley moves along the rail and connects to the door arm, pulling and pushing the door open and closed.
- Attach the Trolley to the Rail: Slide it onto the rail, ensuring it moves smoothly. Attach any necessary fasteners as per your model’s instructions.
- Connect to the Door Arm: The door arm links the trolley to the garage door. Securely attach the arm to both the trolley and the door.
- Ensure Smooth Movement: Test the door’s manual operation by moving the trolley along the rail to check for obstructions or resistance.
Step 5: Wiring Your Garage Door Opener
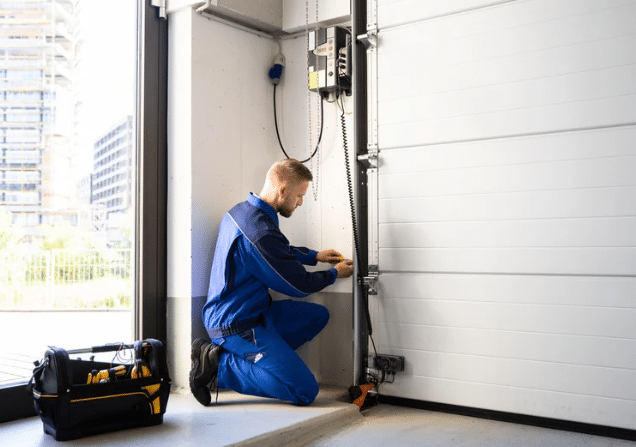
The wiring step connects your garage door opener to the wall control panel and safety sensors, enabling remote operation and safety functions.
- Install the Control Panel: Mount the wall control panel inside the garage near the entrance. Run the provided wire to the motor unit, securing it along the walls to keep it out of the way.
- Connect Safety Sensors: Place the safety sensors on each side of the garage door, about six inches above the ground. Connect the sensors to the motor unit and ensure they’re aligned so their infrared beams are in sync.
- Plug in the Motor Unit: Finally, plug the motor unit into a nearby power source. Keep the cords clear of moving parts.
Step 6: Testing and Adjusting the Opener
Testing your garage door opener ensures it operates safely and efficiently. It’s essential to make any necessary adjustments before regular use.
- Run a Test Cycle: Press the wall control button to test the opener. The door should open and close smoothly without resistance.
- Adjust Force and Limit Settings: Use the adjustment knobs on the motor to set the door’s opening and closing limits. These settings control how far the door opens or closes, ensuring it doesn’t hit the floor too hard or remain partially open.
- Check Sensor Functionality: Place an object in the door’s path to ensure the safety sensors stop the door as intended. Adjust the sensor alignment if necessary.
Programming a Garage Door Opener Remote
Most garage door openers include a remote control for convenient operation from your car or other locations. Programming is usually straightforward and involves pressing a “learn” button on the motor unit and then activating the remote to sync it. Consult your manual for specific instructions, as the process can vary by model.
Safety Precautions for Garage Door Opener Installation
Safety is paramount when installing a garage door opener, as incorrect installation can lead to injury or damage. Here are some essential precautions:
- Use a Stable Ladder: Ensure your ladder is stable and positioned securely when working at height.
- Wear Safety Gear: Safety goggles and gloves can prevent injuries from debris or tools.
- Avoid Pinch Points: Be mindful of pinch points in the garage door’s mechanisms, especially when handling moving parts like the trolley and rail.
- Check Wiring Connections: Incorrect wiring can lead to malfunctions or pose electrical hazards. Double-check all connections before powering the unit.
- Test All Safety Features: To avoid accidents, make sure the safety sensors are aligned and functional. Testing these features during installation is critical to preventing potential harm.
Frequently Asked Questions (FAQs)
How much is a garage door opener for a car?
A basic garage door opener typically costs $150-$300, but advanced models with smart features or battery backup can cost $300-$500 or more, depending on the brand and features.
Can I install a garage door opener by myself?
Yes, installing a garage door opener can be a DIY project if you’re comfortable with the tools and follow the instructions. However, professional installation is recommended for complex or heavy-duty models.
Is a garage door easy to install?
Garage door openers are moderately easy to install if you’re familiar with basic tools. However, heavy models may require assistance to avoid injury and ensure safe installation.
Do you need a professional to install a garage door opener?
While DIY installation is possible, hiring a professional can ensure proper setup, safety, and warranty coverage, especially for complex or high-end models.
How much room do you need to install a garage door opener?
Standard openers require around 12 inches of headroom above the door. If you have limited space, low-clearance models are available.
Conclusion
Installing a garage door opener yourself can be a rewarding and practical DIY project, especially if you follow each step with care and attention. With the right tools, preparation, and a careful approach, you’ll have a fully functional opener that adds convenience and value to your home. By choosing the right opener and understanding each part of the process, you’re setting yourself up for a successful installation that should serve you reliably for years.
End Note
Installing a garage door opener involves precision, knowledge, and experience—qualities you’ll find at Hi-Country Dock & Door. Our team expertly handles everything from selecting the right model to ensuring a secure, reliable setup. We proudly offer installation services for top brands like Liftmaster and Genie, serving Billings, MT, and nearby areas such as Lewistown, MT, and Columbus, MT. When you choose us, you’re investing in quality and reliability, knowing your opener will work smoothly day in and day out.
Whether you’re upgrading an old opener or need a new one installed, we’re here to help every step of the way. We also carry Amarr and Clopay garage doors to provide a comprehensive garage solution tailored to your needs. Visit our website, learn about us, explore our services, or contact us for more details on our opener installation services.

