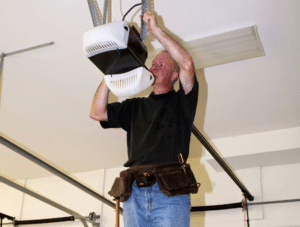
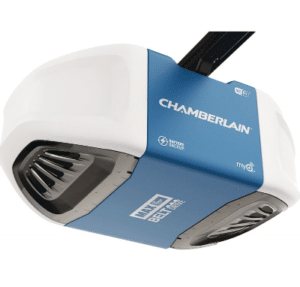
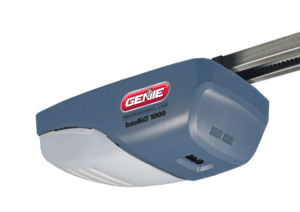
When it comes to reliable and efficient garage door openers, Chamberlain is a brand that stands out. With a long-standing reputation for quality and durability, Chamberlain garage door openers have become a popular choice for homeowners. Whether you are looking to replace an old opener or installing a new one, mastering the art of Chamberlain garage door opener installation is essential. In this step-by-step guide, you will learn everything you need to know to successfully install a Chamberlain garage door opener and enjoy the convenience it brings to your daily life.
Benefits of Chamberlain Garage Door Openers
Before delving into the installation process, it’s important to understand the benefits of choosing Chamberlain garage door openers. Chamberlain openers are known for their quiet operation, making them perfect for households where noise is a concern. Additionally, they offer advanced security features, such as rolling codes, to prevent unauthorized access to your garage. Chamberlain openers also come with innovative technology, including smartphone integration, allowing you to control your garage door from anywhere. These benefits, combined with Chamberlain’s reputation for reliability, make their openers a top choice for homeowners.
Understanding the Different Types of Chamberlain Garage Door Openers
Chain Drive Openers
Chain drive openers are a cost-effective option and commonly found in many households. They operate using a metal chain to raise and lower the garage door. While they are affordable, they tend to produce more noise during operation compared to other types.
Belt Drive Openers
For those seeking quieter operation, belt drive openers are an excellent choice. They use a rubber belt to move the garage door, resulting in smoother and quieter performance. Although they come at a higher price point than chain drive openers, many homeowners find the reduced noise levels worth the investment.
Screw Drive Openers
Screw drive openers are known for their simplicity and durability. They use a threaded steel rod to move the garage door, requiring minimal maintenance. While they may produce some noise during operation, they offer reliable performance and are suitable for various garage door types.
Preparing for the Installation Process
Before diving into the installation, it is essential to gather all the necessary tools and materials. This will ensure a smooth and efficient installation process. Some of the tools you will need include a ladder, a power drill, a level, and adjustable wrenches. Additionally, make sure you have the Chamberlain garage door opener kit, which typically includes the rail system, motor unit, control panel, and necessary hardware. Once you have all the tools and materials ready, you can proceed with the installation process.
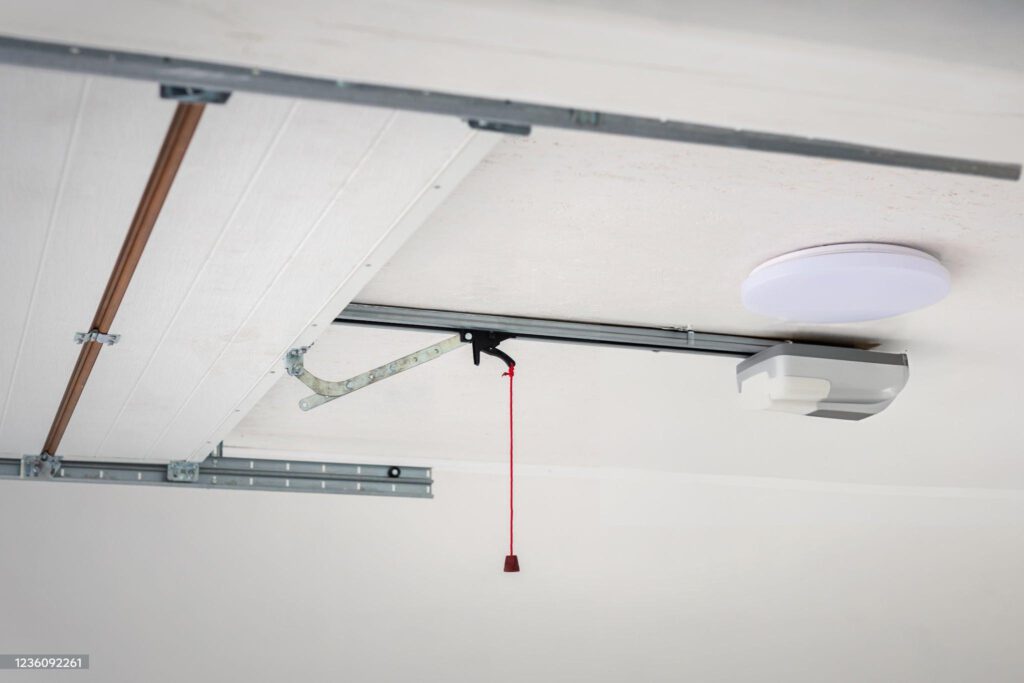
Step 1: Gathering the Necessary Tools and Materials
To begin the installation, gather all the necessary tools and materials as mentioned earlier. Having everything within reach will save you time and make the installation process more efficient. It’s also a good idea to read through the Chamberlain garage door opener installation manual before proceeding, as it will provide you with specific instructions and guidelines.
Step 2: Removing the Old Garage Door Opener (if Applicable)
If you are replacing an old garage door opener, you will need to remove it before installing the new Chamberlain opener. Start by disconnecting the power source to ensure safety during the removal process. Then, follow the specific instructions provided by the manufacturer of your old opener to uninstall it. This may involve detaching the opener from the ceiling or wall, disconnecting the wiring, and removing any mounting brackets. Be sure to take note of how the old opener was installed, as this will help when installing the new Chamberlain opener.
Step 3: Installing the Rail System
The rail system is a crucial part of the Chamberlain garage door opener installation. It provides support and guides the movement of the garage door. Begin by attaching the rail to the ceiling or wall, following the instructions provided in the installation manual. Use a level to ensure the rail is straight and secure. Next, install the chain or belt onto the rail, making sure it is properly aligned. Finally, attach the trolley to the opener and connect it to the rail. This will allow the opener to move along the rail smoothly.
Step 4: Attaching the Motor Unit and Control Panel
After installing the rail system, it’s time to attach the motor unit and control panel. Position the motor unit on the ceiling or wall, ensuring it is securely fastened. Connect the motor unit to the rail system using the provided hardware. Then, attach the control panel to a convenient location inside the garage. Make sure all the connections are tight and secure to avoid any issues during operation.
Step 5: Wiring and Connecting the Opener
Wiring and connecting the opener is a critical step in the installation process. Start by connecting the power source to the motor unit, following the instructions in the installation manual. Then, connect the safety sensors to the motor unit and align them properly. These sensors are essential for detecting any obstructions and ensuring safe operation of the garage door. Finally, connect any additional accessories, such as remote controls or wireless keypad entry systems, according to the manufacturer’s instructions.
Step 6: Testing the Garage Door Opener
Once all the components are installed and connected, it’s time to test the garage door opener. Start by ensuring the area around the garage door is clear of any obstructions. Then, plug in the power source and test the opener’s functionality. Use the control panel, remote controls, or smartphone app to open and close the garage door. Pay attention to any unusual noises, jerky movements, or issues with the door’s operation. If everything is working correctly, congratulations! You have successfully installed your Chamberlain garage door opener.
Troubleshooting Common Installation Issues
In some cases, you may encounter installation issues or face challenges during the process. This section will provide some troubleshooting tips for common problems that may arise. If you experience difficulty with the installation or encounter any issues, consult the Chamberlain garage door opener installation manual or contact their customer support for assistance. They will be able to provide guidance and help resolve any problems you may encounter.
Chamberlain Garage Door Opener Maintenance Tips
To ensure the longevity and optimal performance of your Chamberlain garage door opener, regular maintenance is essential. This section will provide some useful maintenance tips to keep your opener in top shape. Regularly inspect the opener for any signs of wear or damage, such as frayed cables or loose bolts. Lubricate the moving parts, such as the chain or belt, as recommended by the manufacturer. Test the safety features, such as the reversing mechanism, to ensure they are functioning correctly. By following these maintenance tips, you can extend the lifespan of your Chamberlain garage door opener and prevent any potential issues.
Conclusion: Enjoying the Benefits of a Properly Installed Chamberlain Garage Door Opener
By mastering the art of Chamberlain garage door opener installation, you can enjoy the convenience, security, and reliability that these openers provide. Whether you are a seasoned DIYer or a beginner, following this step-by-step guide will ensure a successful installation process. Remember to gather all the necessary tools and materials, understand the different types of Chamberlain garage door openers, and carefully follow the installation instructions provided. With a properly installed Chamberlain garage door opener, you can simplify your daily life and enhance the functionality of your garage.
Contact Hi-Country Dock & Door
For professional assistance with Chamberlain garage door opener installation or any other garage door repair in Roundup, MT, contact Hi-Country Dock & Door. Our experienced technicians can provide expert advice, installation, and maintenance services to ensure your garage door opener operates flawlessly.
Frequently Asked Questions
Can I install a Chamberlain garage door opener by myself?
Yes, Chamberlain garage door openers are designed for DIY installation. However, if you are not comfortable with DIY projects or encounter any difficulties during the installation process, it is recommended to seek professional assistance.
How long does it take to install a Chamberlain garage door opener?
The installation time can vary depending on your experience, the complexity of the installation, and any unforeseen issues. On average, it can take approximately 2-4 hours to install a Chamberlain garage door opener.
Are Chamberlain garage door openers compatible with all garage doors?
Chamberlain garage door openers are compatible with most standard residential garage doors. However, it is important to check the compatibility of your specific door and opener models before installation.
Can I use my existing garage door opener accessories with a new Chamberlain opener?
In most cases, you can use your existing garage door opener accessories, such as remote controls or wireless keypad entry systems, with a new Chamberlain opener. However, it is recommended to consult the manufacturer’s instructions to ensure compatibility.
What should I do if my Chamberlain garage door opener is not working properly after installation?
If you experience any issues with your Chamberlain garage door opener after installation, refer to the troubleshooting section of the installation manual. If the problem persists, contact Chamberlain’s customer support for further assistance.

